

Use images
In this tutorial, we will discuss how to upload and embed images to Canvas, where to find great quality images, the difference between various image format and which ones are better (spoiler: it depends), and finally some basic image styling tips for improving the flow of your Canvas page. Feel free to follow along in the Canvas course while watching the tutorial.
Uploading vs embedding
Uploading
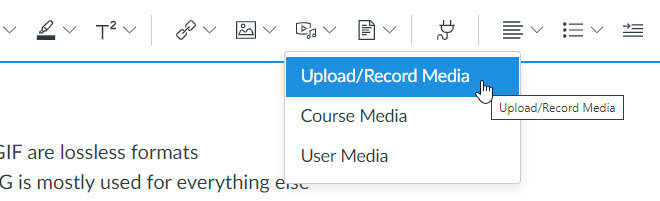
There are two approaches for putting an image on a Canvas page. One is to upload a picture from your device into Canvas. This perhaps the most common approach and consists of clicking the Upload Image icon on the rich content editor or from the menu click: Insert >> Image >> Upload Image. You will then either drag an image from your computer or click the interface to search for your image.

When you are uploading an image, you want to be mindful of the size. If you have a high resolution image that would be the size of a movie poster, but you only plan on using it as a 300 pixel picture, then you might consider resizing it prior to uploading into Canvas. This way students with poor internet connections will not need to wait unnecessarily long for the image to load up. An image that is 8MB but only shows up relatively small on the screen will still need to load the entire file size. For more detail about compression and image file size, keep reading below about the difference between PNG and JPG image formats.
Embedding
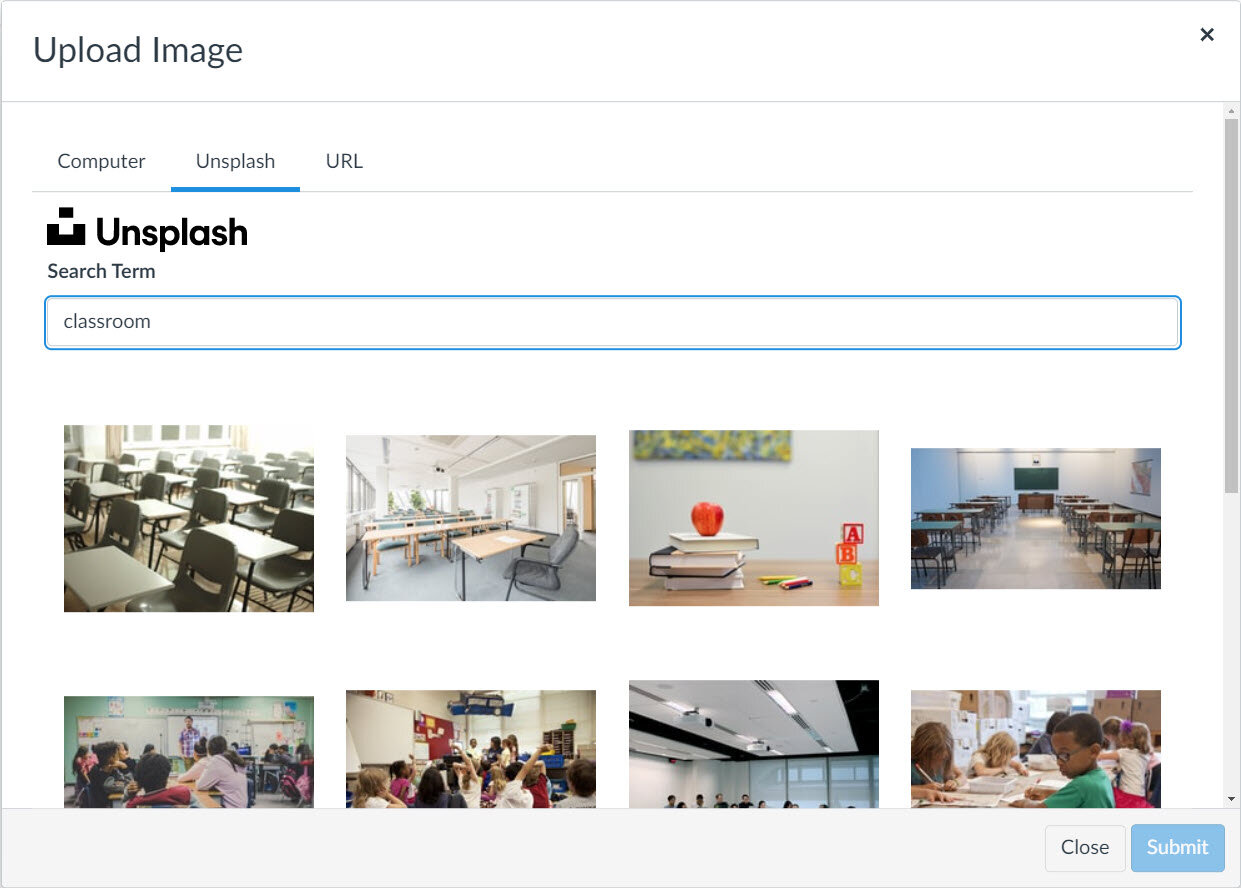
A very practical approach for using images in Canvas is to embed it into your course. Images that are on the internet can be directly embedded, meaning you don’t need to first download it and then upload it. The image doesn’t live in Canvas, but it displays in Canvas. The drawback is that if the image is taken down from wherever it is embedded from then it will no longer show up in your course. The two primary ways to embed an image are to search the Unsplash repository in Canvas, or to embed the image using the direct URL.

In addition to Unsplash.com, other good websites to find free, high resolution, and good quality images include:
or other platforms such as canva.com or Microsoft Office 365.
Formatting images in Canvas
There are a few simple CSS tricks that you can do in the HTML editor to help align your image and provide margins. This can help give your course content a more seamless appearance as you organize the components. It also helps give it a more professional feel. The two tricks you will want to explore are to float your image to the left or the right, and to provide margins.
To add the CSS, you will need to edit your page in the HTML editor. Locate your image <img src="URL"> and add the following code inside the <img> tag:
style="float: left;"
or
style="float: right;"
You can then add margins around your image within the styling. If you want your image to float to the right side of the page and you would like 20pixels of margin all around it, then you would use this code:
style="float: right; margin: 20px;"
If you want it to float to the left side of the page and you only want margins on the right and the bottom but not on the left or top, then you would write:
style="float: left; margin-right: 20px; margin-bottom: 10px;"
Here are two examples of images that are floating to the left. One has a margin to separate the image from the text and the other has no margin.

style="float: left; margin-right: 20px; margin-bottom: 10px;"

style="float: left; "
Types of image files: JPG, PNG, GIF
tl;dr
JPG is a lossy format, whereas PNG and GIF are lossless formats
JPG is typically used for photographs, PNG is mostly used for everything else
PNG and GIF support transparency, while JPG does not
JPG is a good option for small file sizes
PNG is a good option for high quality
JPG
The JPG file format (sometime seen as JPEG) was developed in the early days of the internet. In that era, file compression was very important, as internet and file transfer speeds were very slow and not always stable. We needed a reliable way to share pictures, and a good way to do that was to compress large picture files into small file sizes. The trade-off was that file compression means pictures lose a lot of quality. Thus, JPG is referred to a lossy compressed file format. At the time, JPG was a fantastic alternative to BMP. JPG is still a standard format for photos and realistic imagery, especially when one wants to avoid sending large files - such as through email or sent from a phone.
Fun fact, for those who remember older operating systems, such as MS-DOS, the file extensions could not exceed three characters, which is why JPEG became JPG. Today you might see reference to both file extensions, but they are exactly the same. JPG remains the more popular extension.
PNG
Unlike JPG, a PNG image is a lossless format, which means any compression does not affect the quality of the image. The drawback is that PNG file sizes tend to be much larger than JPG. With bandwidth being optimized and computer and mobile web devices being able to process large quantities of data, PNG has become the standard file type for web imagery, since it is ideal for graphics, text, and other art.
One of the notable aspects of PNG files is the ability to support transparency. Whereas JPG fills in any transparent portions of the image with white, PNG will leave those areas empty. This is convenient when doing photo manipulation in programs like Photoshop or Gimp where you don't want a "white box" surrounding the edges of the object, shape, or image.
GIF

Ugachaka
Baby
GIF is a file format that originated in the same era as JPG, but compresses in a lossless similar to PNG. Also similar to PNG, the GIF format supports transparency. What has traditionally distinguished GIF from the other formats is the ability to support animations. Perhaps the most notable animated GIF is the dancing baby, or "Ugachaka Baby" of the late 90's.
Use of animated GIFs in education can be beneficial for demonstrating simple processes or instructions. As an ornamental element, animated images (such as the dancing baby) can be exceedingly distracting and may detract from more important content. Be wary of using animations in presentations - even when the animation seems relevant to the topic.
Summary
JPG
is a lossy format (not high resolution)
is typically used for photographs
does not support transparency
is a good option for small file size
PNG
is a lossless format (high resolution)
is used for images that are created (e.g. logos), that include text, have detail, or are high resolution
supports transparency
is the most common standard for online imagery
GIF
is a lossless format (high resolution)
supports transparency
supports animation

Please consider subscribing to our YouTube channel for more Canvas tips and tricks. It is so easy and so free. The only thing you have to do is click this link: http://bit.ly/how2canvas
And follow us on social media
Twitter: https://twitter.com/HowToCanvas
Instagram: https://www.instagram.com/HowToCanvas
Facebook: https://www.facebook.com/HowToCanvas